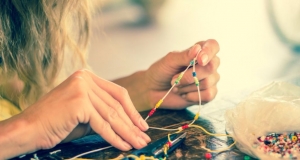
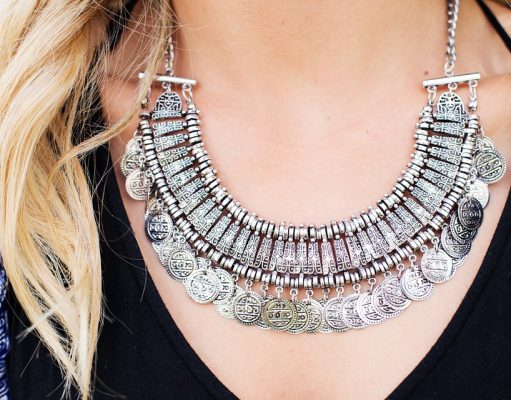
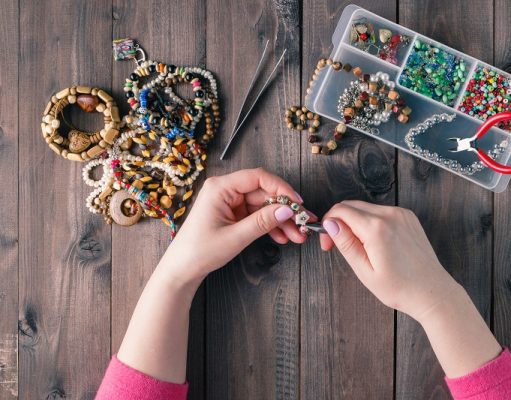
Jewellery making is an ancient art that goes back centuries. It has developed massively in the techniques and materials used over the years. The very first evidences of jewellery making came from Africa and much of the widespread influence on jewellery design has come from Asia.
Once starting this hobby, it is hard for it not to become a business. You would normally be asked where you got your unique creations from and how people can obtain them. This has resulted in many boutique jewellery shops online and at markets. You can use small or large decorative items selected, chosen or made from pretty much any material to wear. You can make necklaces, rings, bracelets, brooches, key rings, embellish clothes, bags or decorate a wedding bouquet. The materials you can make your jewellery from can be, shells, stones, seeds, metal, gemstones, gold, silver and even leather. If you don’t want to design your jewellery from scratch, but enjoy making it, you can buy a “do-it-yourself” kit at quite a reasonable price. These kits are very popular and are great to do as a group for parties and as activities at events.
Keep scrolling down the page to learn more about this hobby. HobbyFinda has over 300 exciting hobbies to explore and with the use of our HobbyFinda Calculator, we make it easy for you to find a hobby the fun way!
Basic Jewelry Making Techniques
by: Linda Keesee
How to Use a Crimp Tube
When attaching wire to a clasp for your newly made necklace, the most common method is crimping, which is a small metal tube and a crimping tool. Below are 5 steps to walk you through the process.
1) Thread your wire through a crimp tube, then through the clasp you’ve chosen, and then back through the crimp tube again.
2) Using your crimp tool, place the crimp tube in the large hole at the front of your tool, then press slightly to form an oval shape in the crimp tube. This will help keep the wire separated.
3) Place the oval crimp tube in the back portion of the crimp tool, the hole with the indention, use your finger to keep the wire separated so you don’t compromise the strength of your connection, then compress firmly, flattening the tube, creating separate chambers for each wire.
4) Now place the crimp tube back into the front hole of the tool and compress folding the crimp tube in half.
5) Use your flush cutters to trim away the excess wire.
Open and Close Jump Rings
Jump rings are used in most jewelry making projects. So using good quality jump rings and knowing the correct way to open and close them is an important part in keeping your jewelry from falling apart.
1) Use two bent nose pliers or chain nose pliers. Grasp the jump ring on either side of the opening with the tip of the pliers.
2) Open the jump ring by moving the jaws sideways in opposite directions. Do not pull ends outward, that will stress the ring and you will lose the nice round shape of your jump ring.
3) To close jump rings, grasp the ring with the tip of the pliers and move sideways like before, but this time move the ends past each other while compressing them together and continue moving past each other while compressing until you feel them click into place. This will keep them secure.
Turning a Loop
When making jewelry with beaded chains or dangles, you need to know how to make a loop at the end of your head pin/eye pin.
1) First thread your bead onto your head pin, and then bend the wire at a 90 degree angle.
2) Trim off all but 1/8″ tail of wire from your bead.
3) Grasp the tail with the tip of your round nose pliers and turn to make a loop. Don’t get discouraged if your loop isn’t perfect, with practice your loops will improve.
Wrapped Loop
For a more secure loop, create a wire wrapped loop.
1) Thread your bead onto the head pin; grasp the top of your head pin above the bead with the round nose pliers.
2) Bend the wire around to form a loop.
3) Coil the wire firmly around the base of the loop with your fingers or chain nose pliers until you reach the top of the bead.
4) Trim off excess wire.
5) Tuck the remaining wire into the bottom of the coil firmly with the chain nose pliers.
About The Author
Jewelry designer and woodcrafter. My website Mixed Kreations was born out of my passion for crafts. http://www.MixedKreations.com
Article Source: http://www.articlecity.com/articles/hobbies/article_2161.shtml


